
 Roughneck Joe© Tereshkova "Hover Tank"
RNJ-TBC
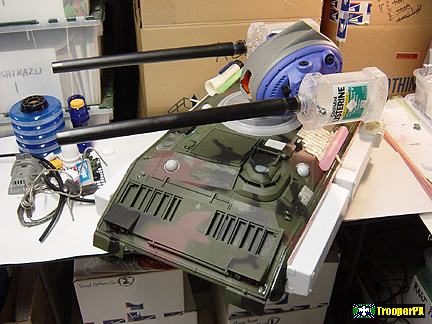
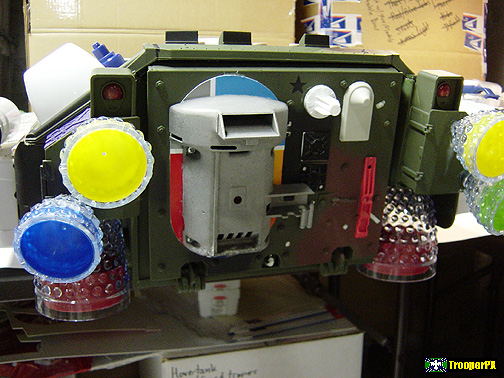
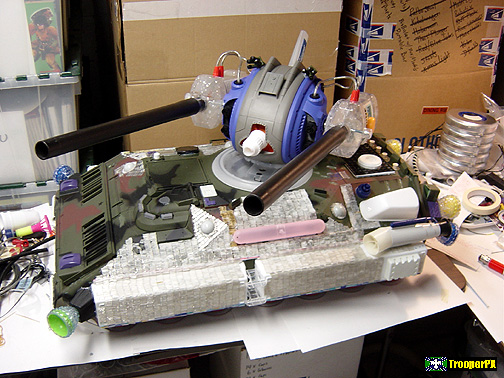
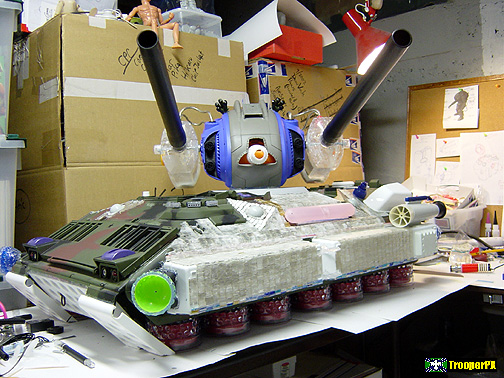
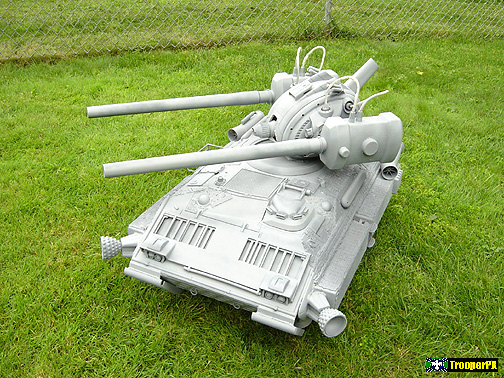
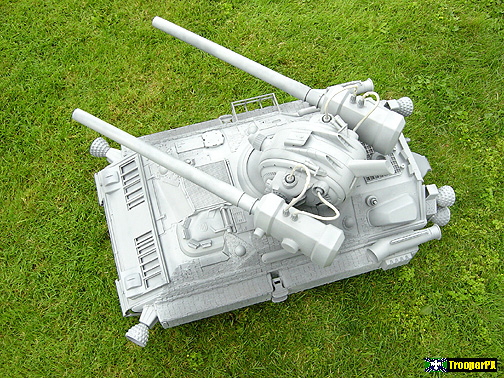
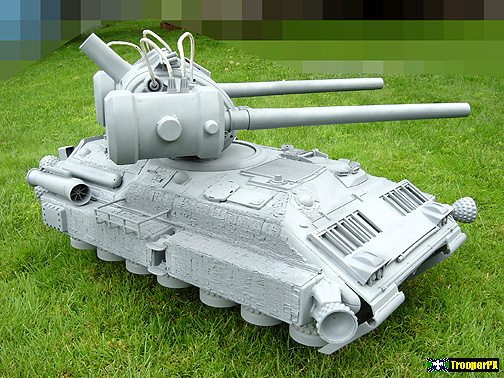
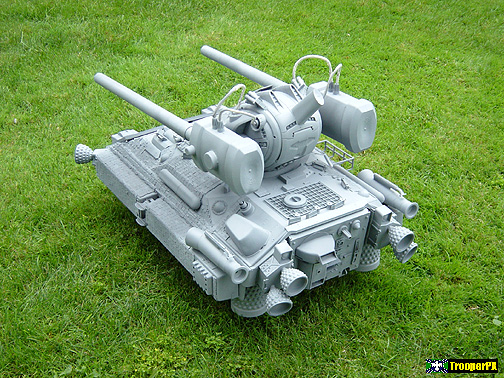
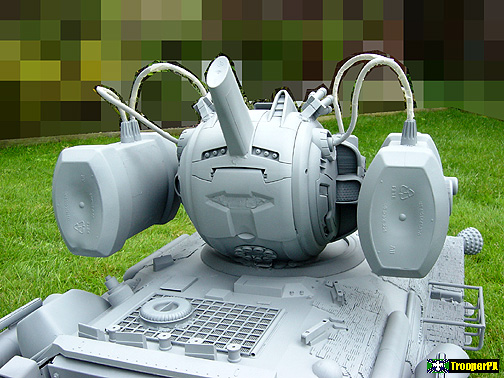
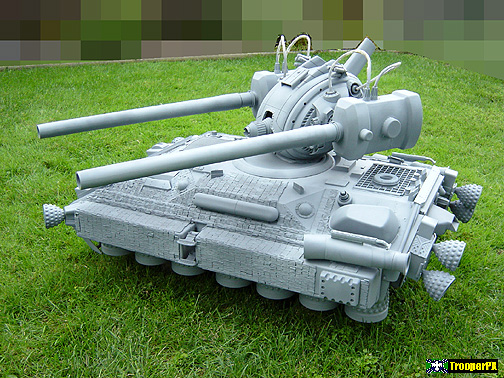
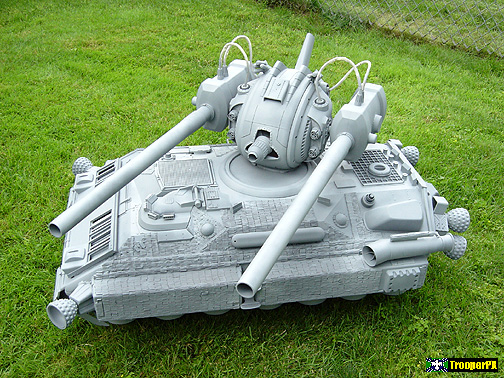
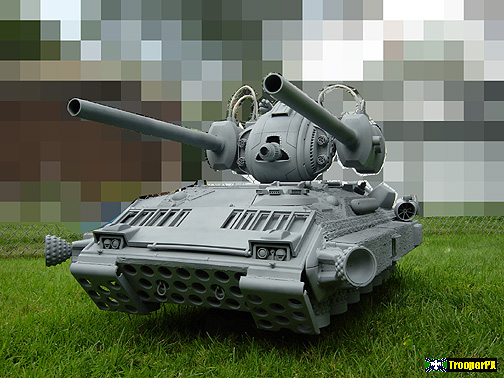
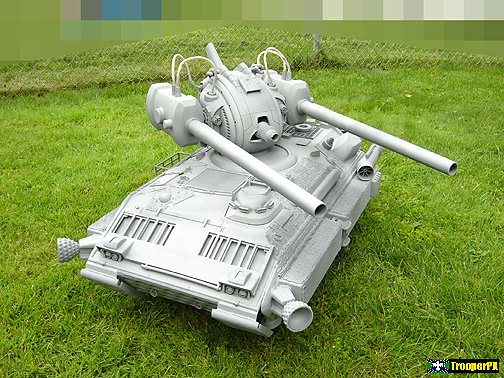
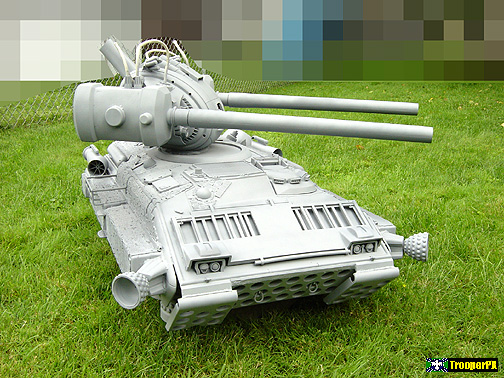
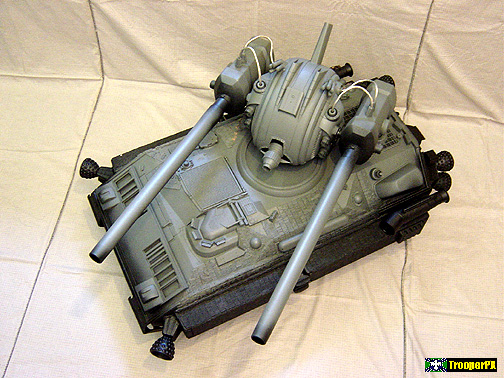
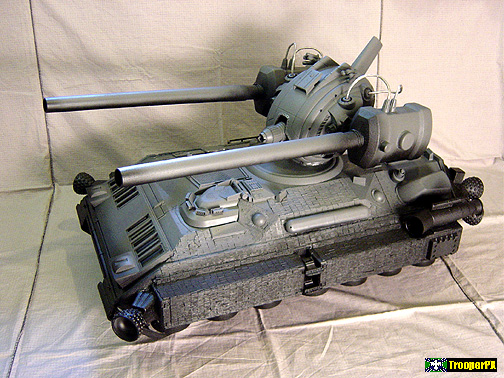
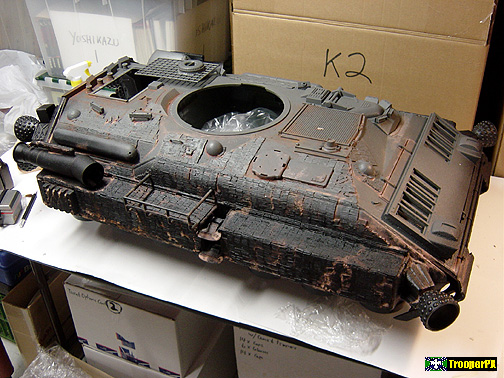
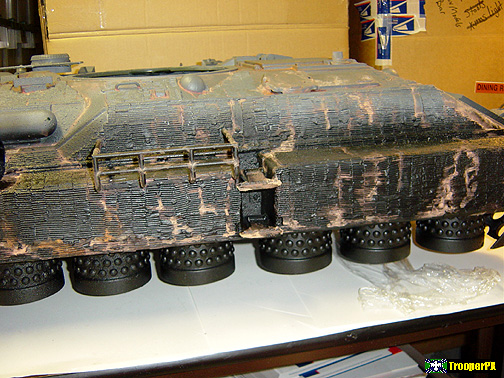
This is my Roughneck Joe: Tereshkova Hover Tank for the Mobile Infantry in Starship Troopers.
This is a custom in progress.
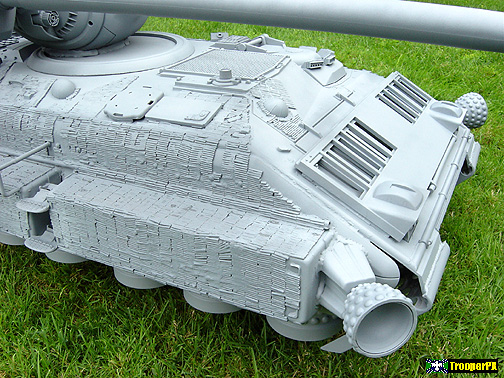
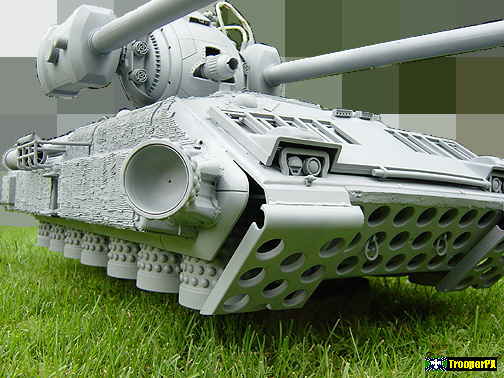
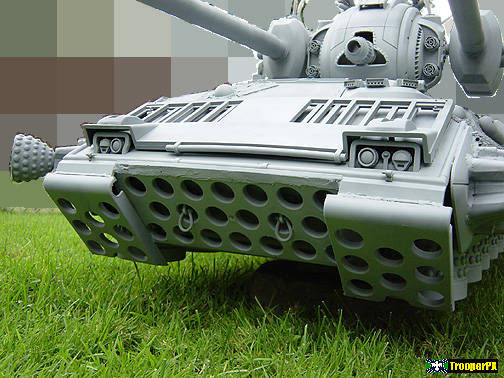
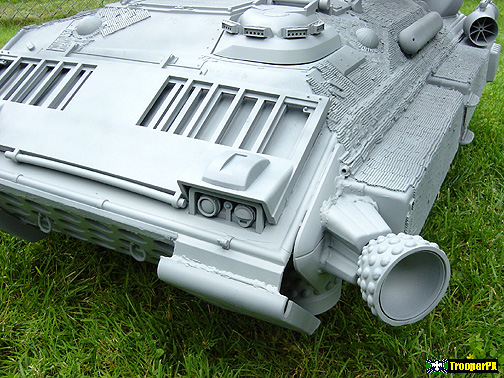
Recipe for a 1/6-scale Hover Tank
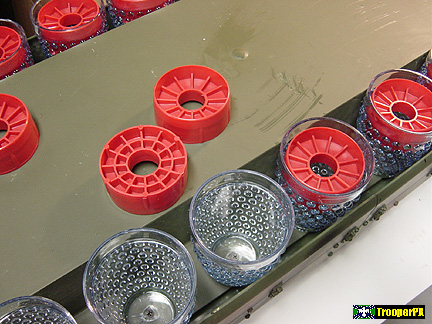
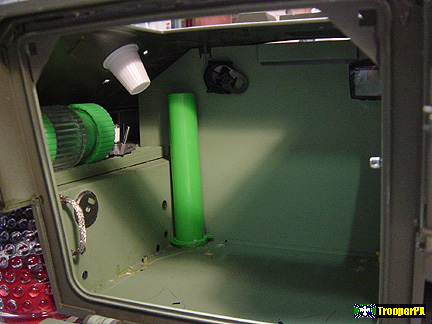
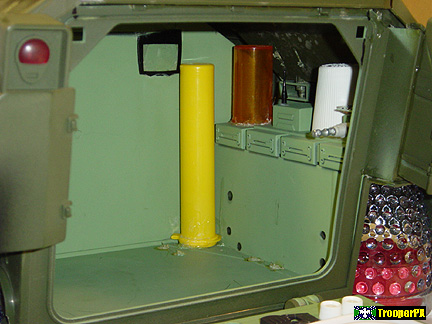
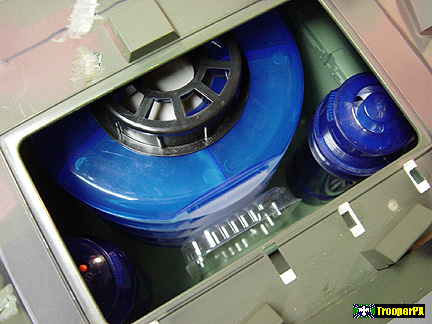
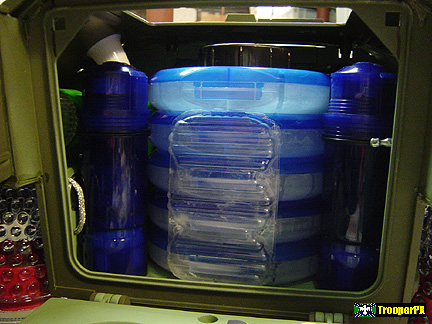
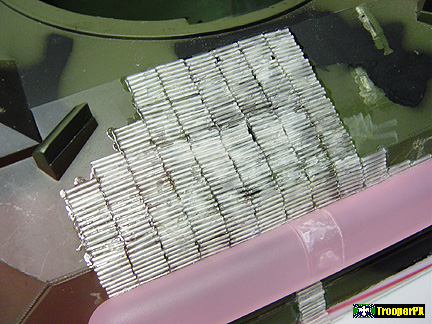
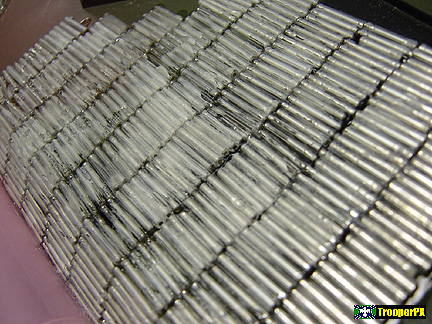
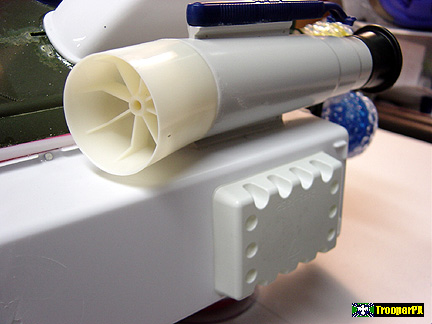
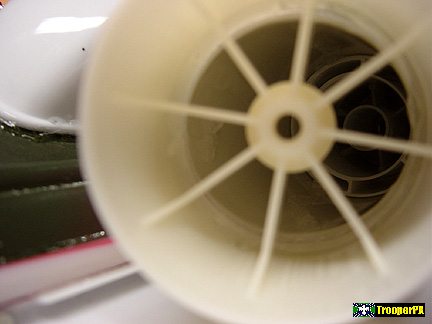
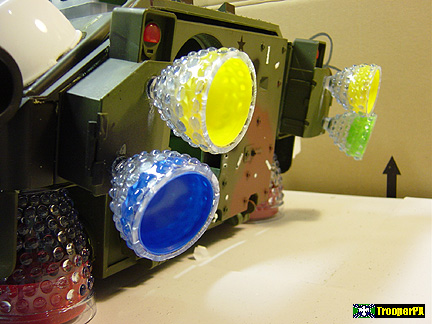
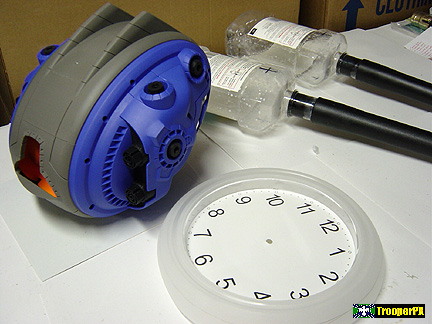
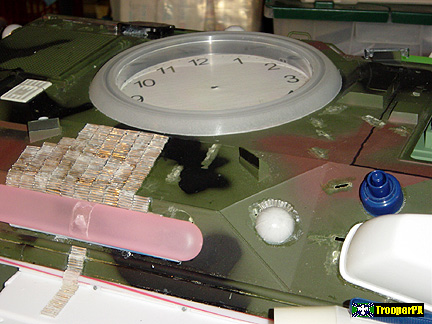
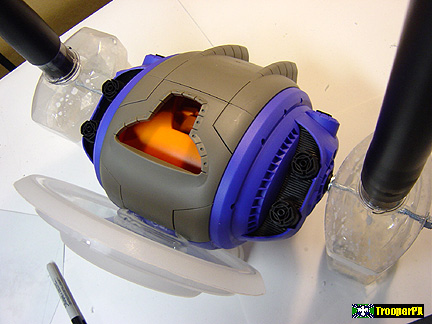
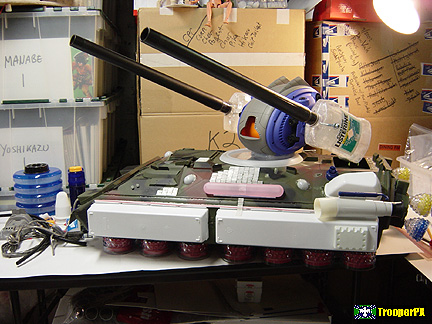
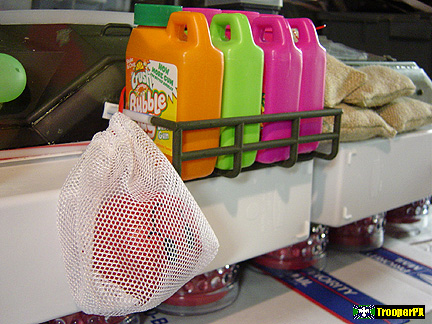
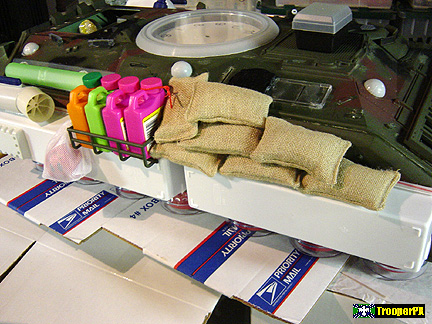
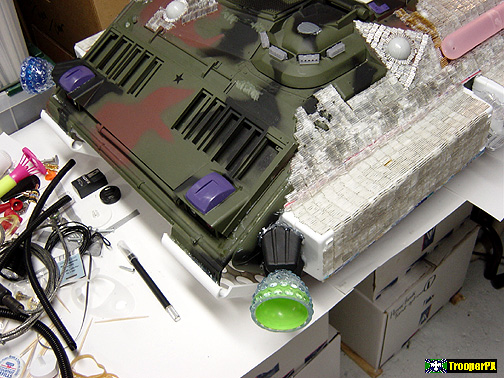
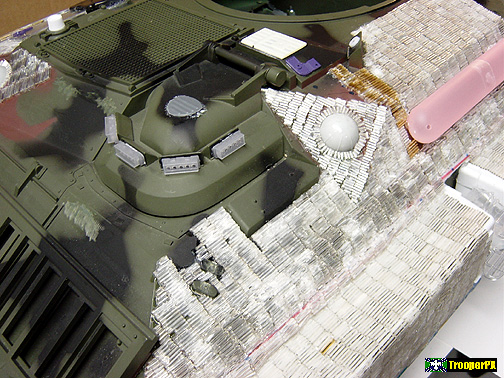
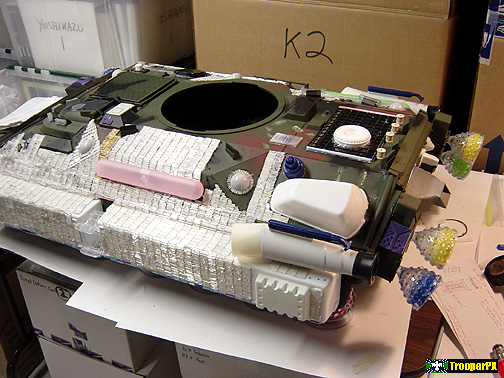
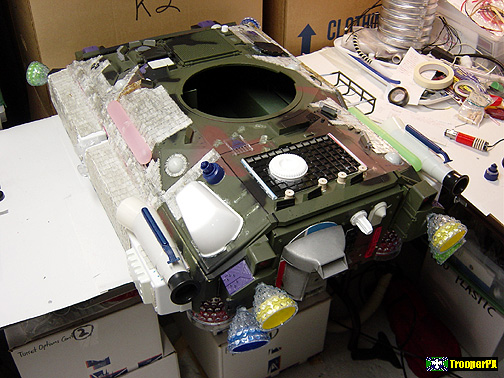
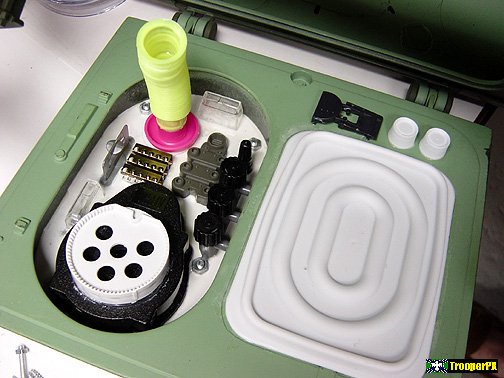
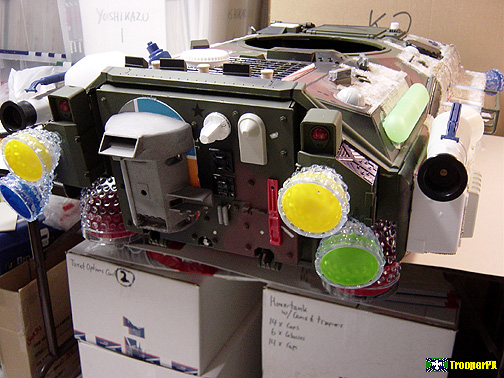
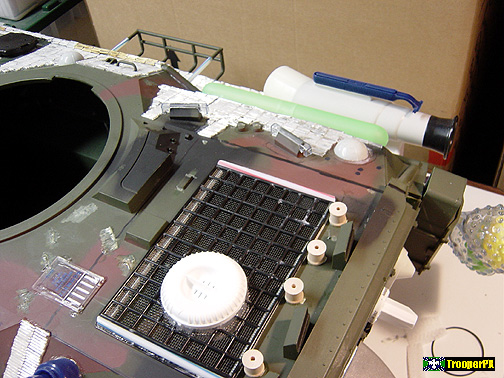
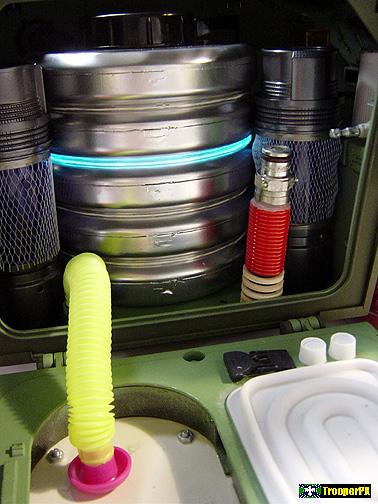
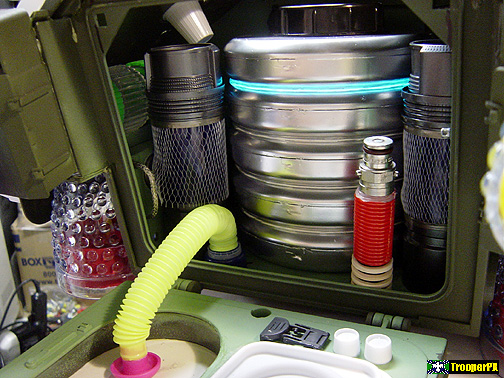
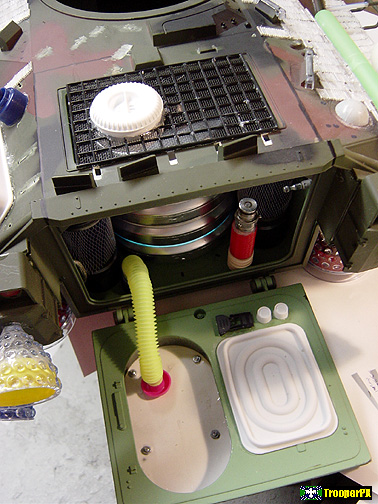
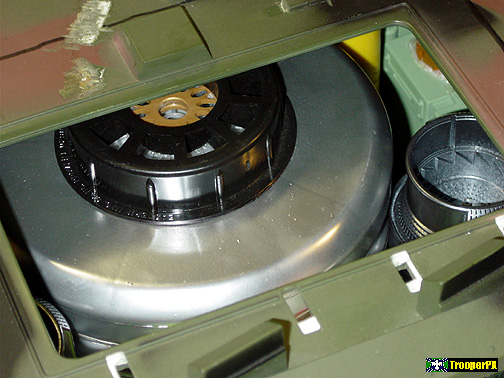
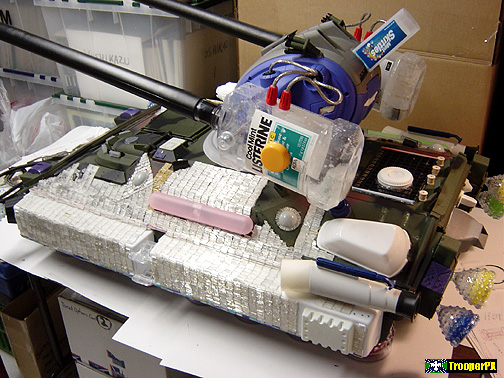
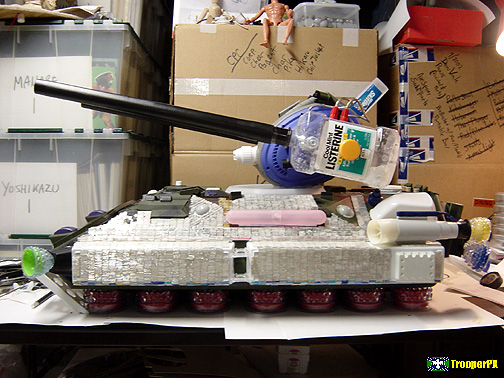
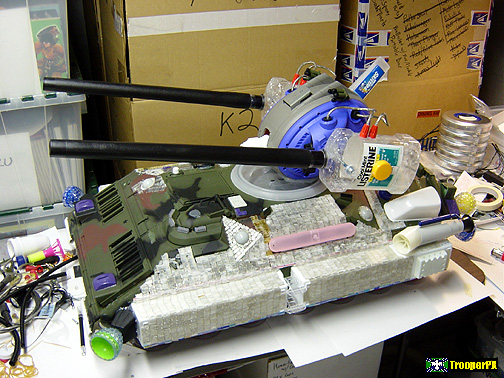
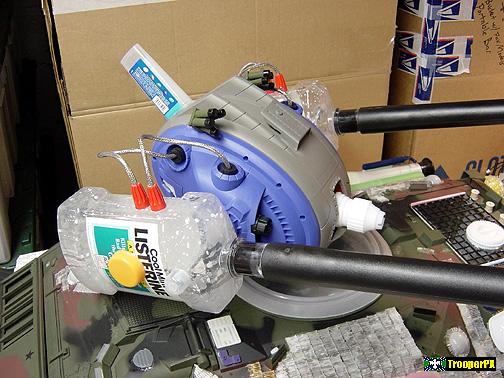
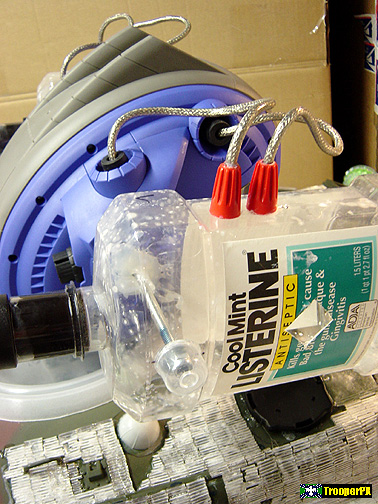
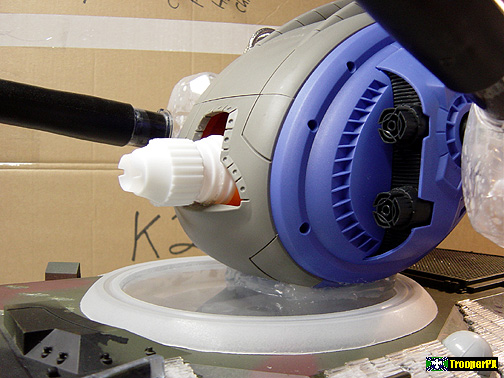
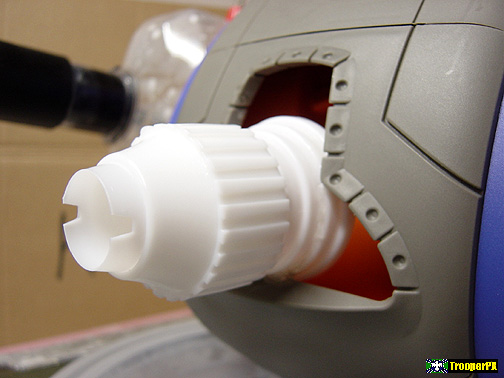
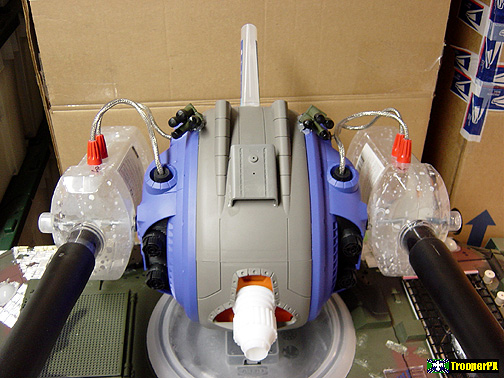
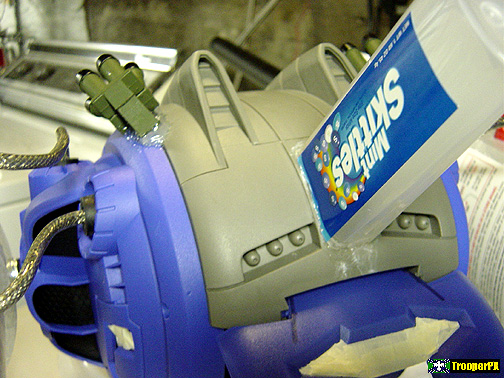
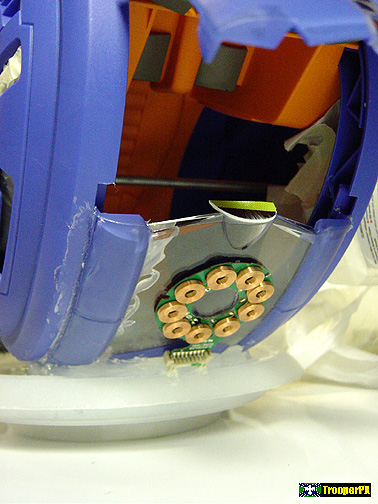
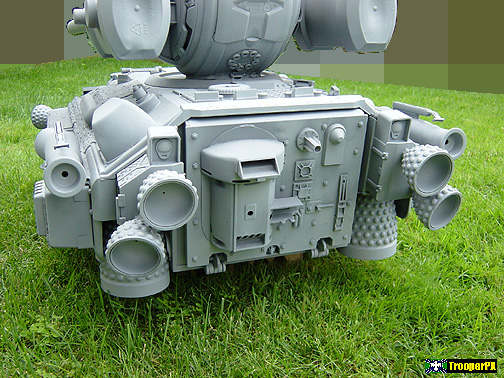
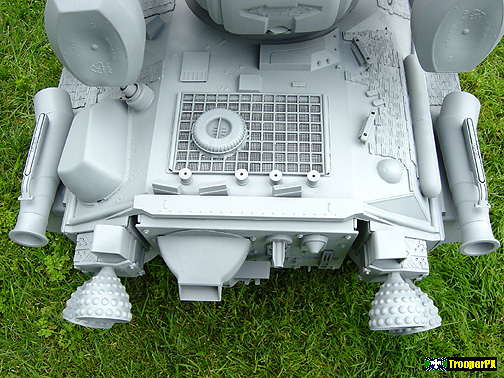
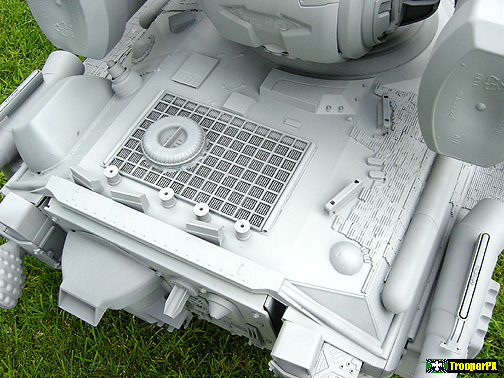
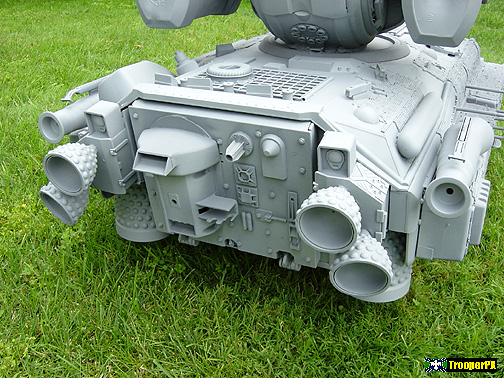
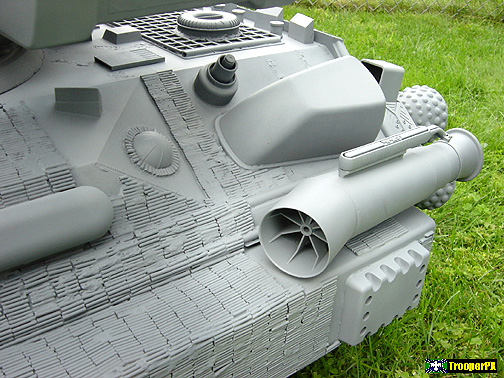
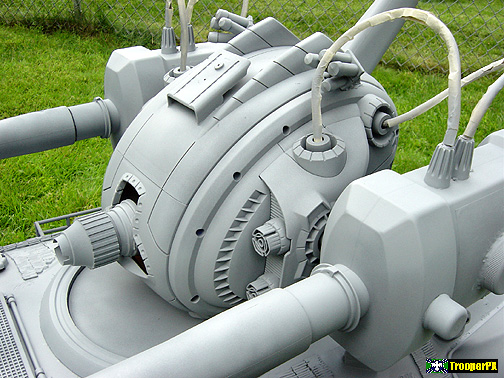
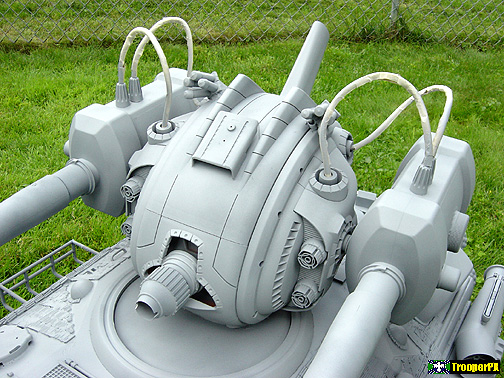
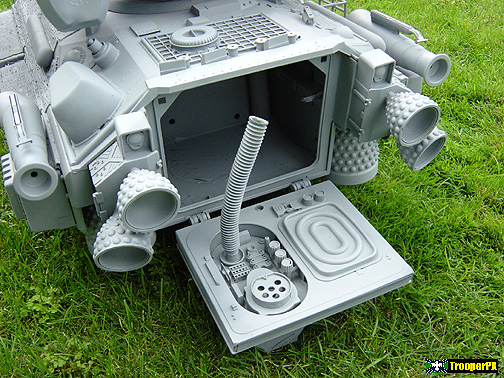
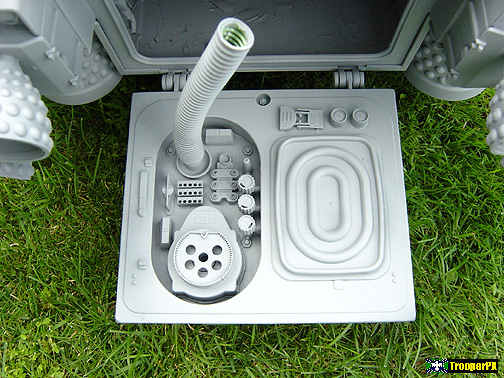
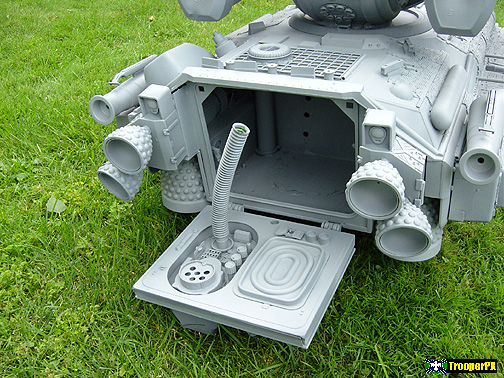
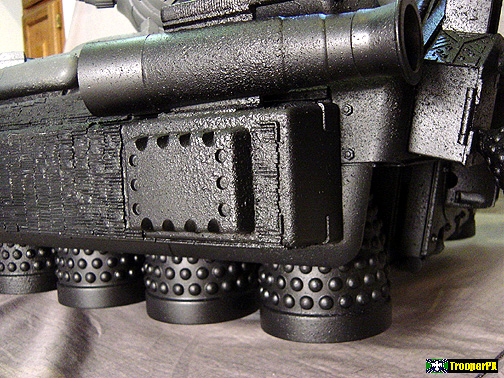
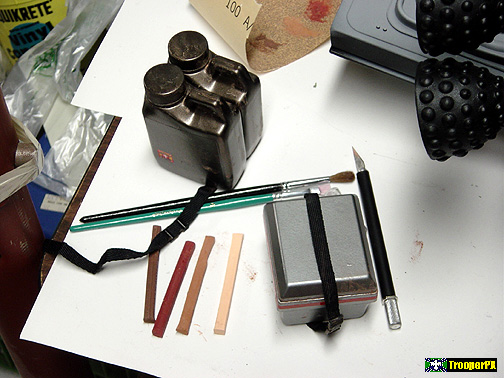
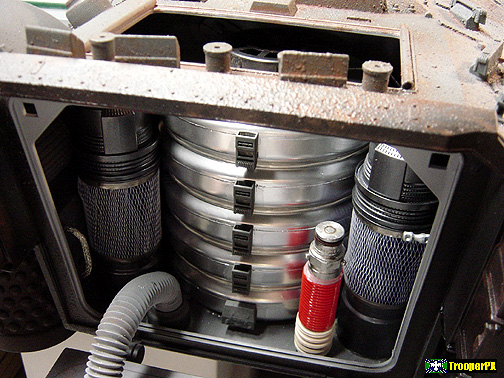
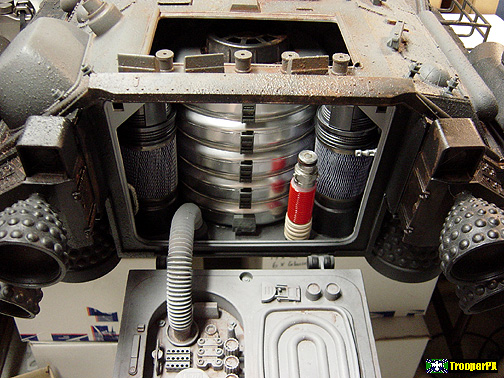
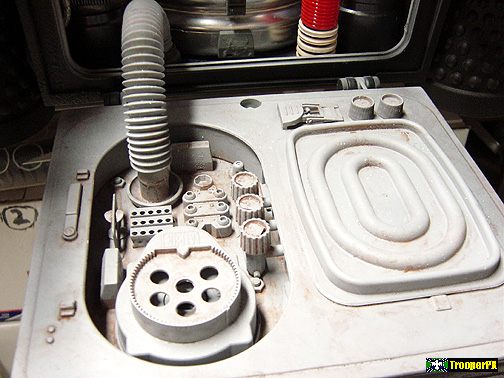
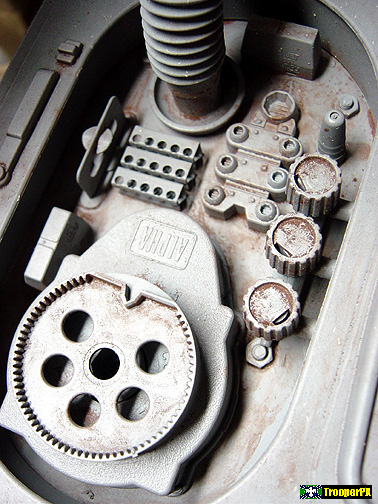
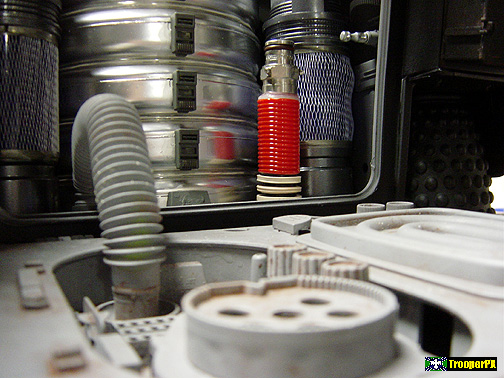
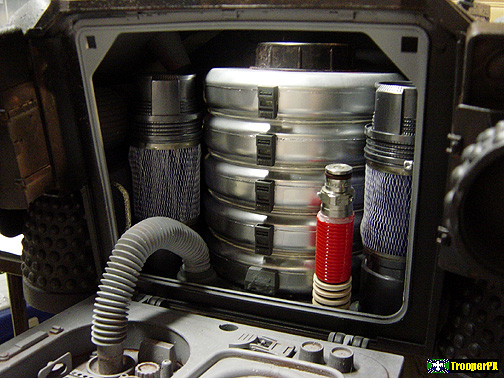
Welcome to my 1/6-scale world. Working in this larger scale allows me to use a variety of found objects in my work. Rather than fabricate everything from scratch, I look for parts I can use. When I find an interesting object, I turn it upside-down, inside out, take it apart, of envision what can be combined to make a new shape. To do this with putty, or Bondo, would be a sculpting and sanding nightmare... and get heavy very quickly! I have turned travel sewing kits (*-*) into PADDs and laptop computers. Water filters (*-*), peanut jugs and a hubcap become a power generator. Listerine bottles (*-*) become beam-cannons, an Ikea clock (*-*) becomes a copula, and ice-cream cups (*-*) become engine bells for a Hover Tank. No piece of plastic is safe!
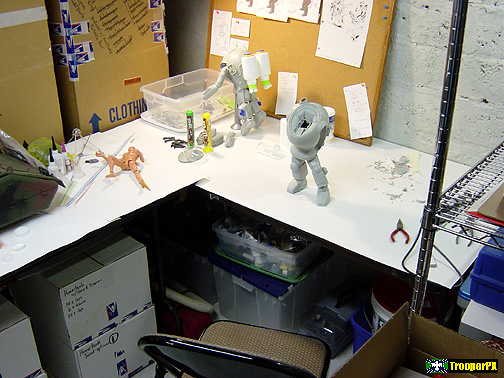
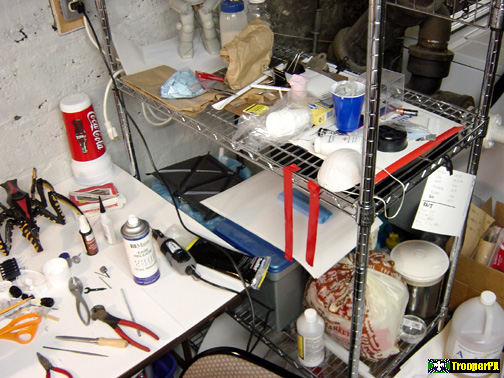
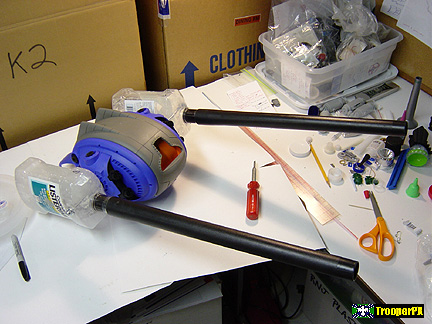
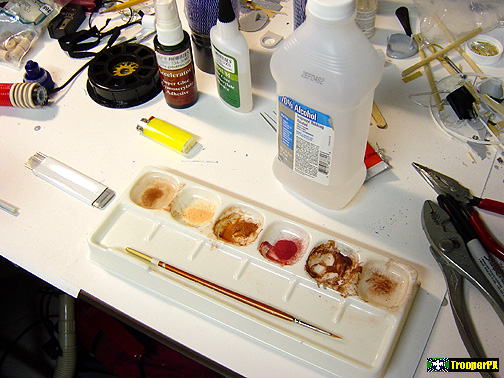
- Workspace -
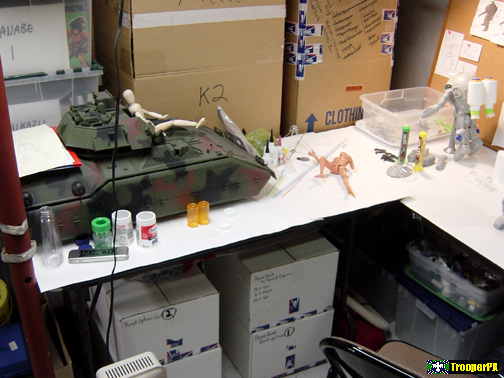
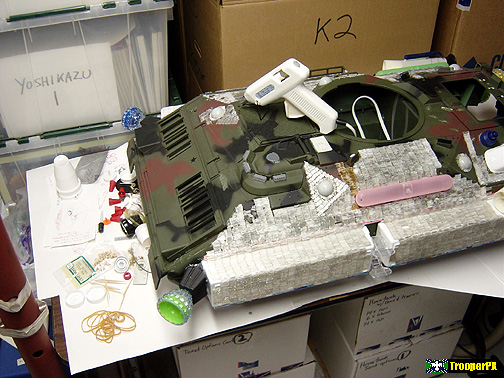
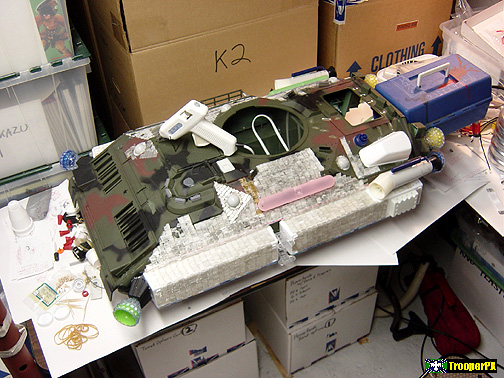
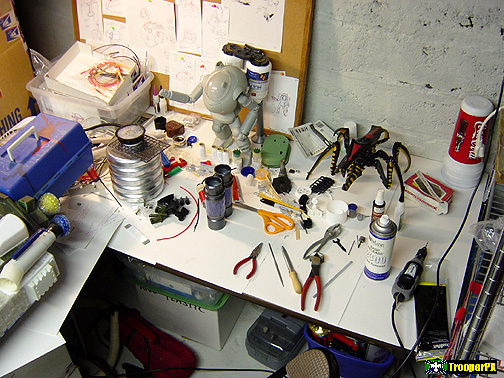
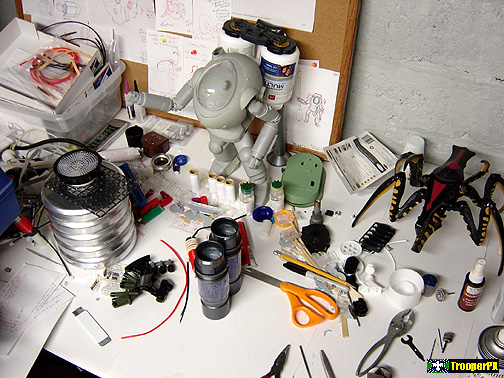
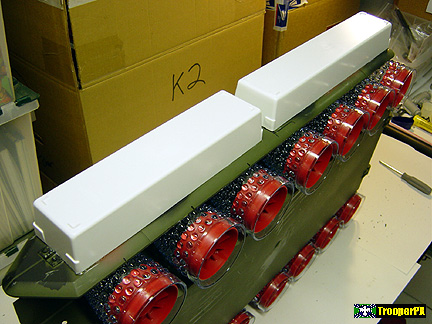
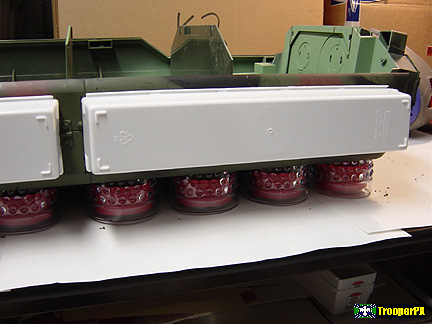
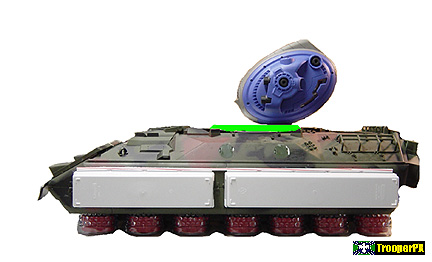
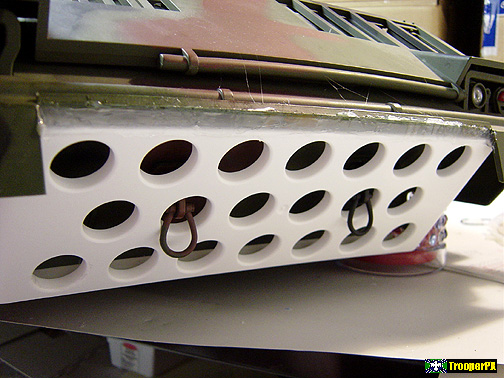
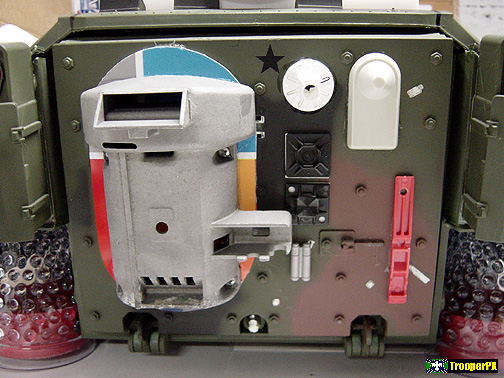
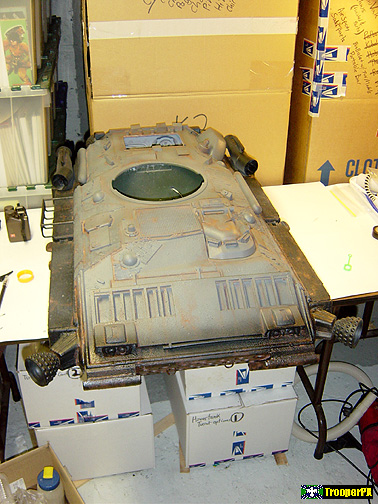
- Production -
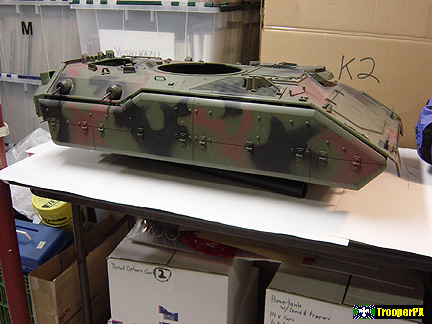

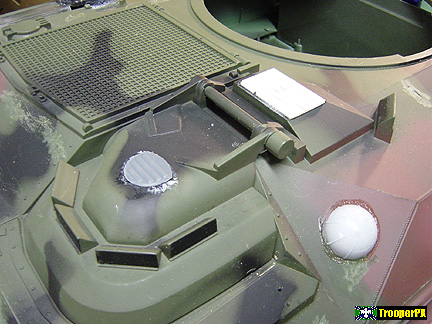
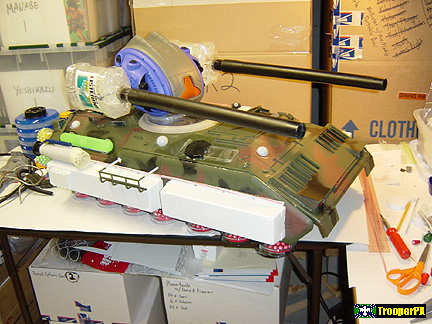
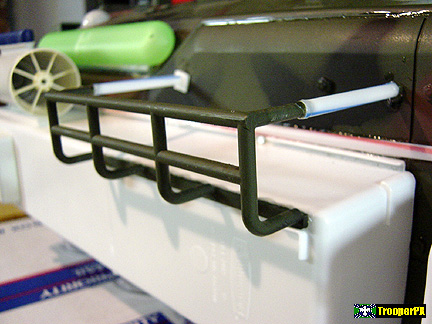
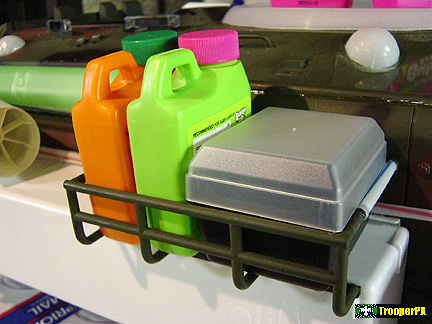
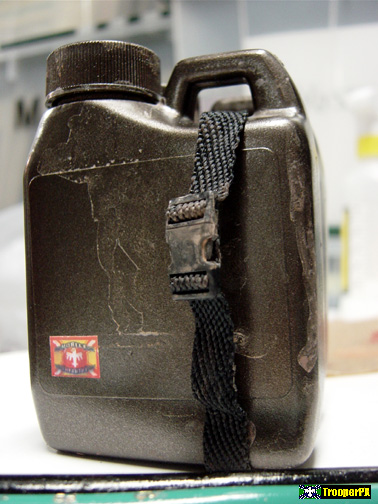
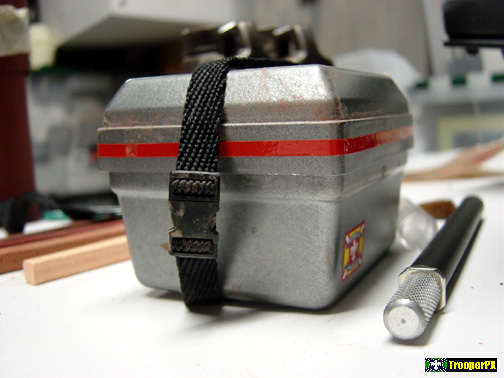
- Final Bits -
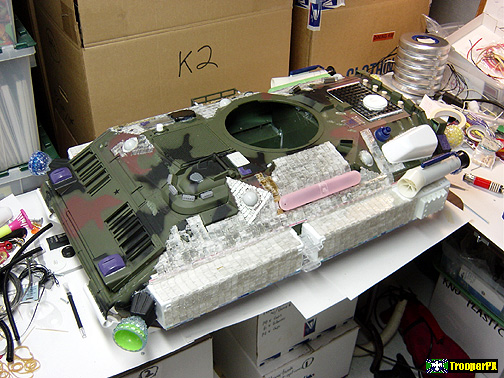

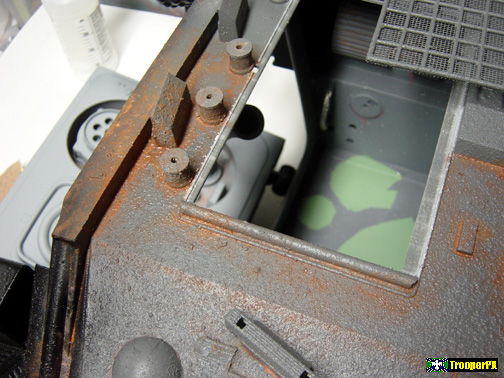
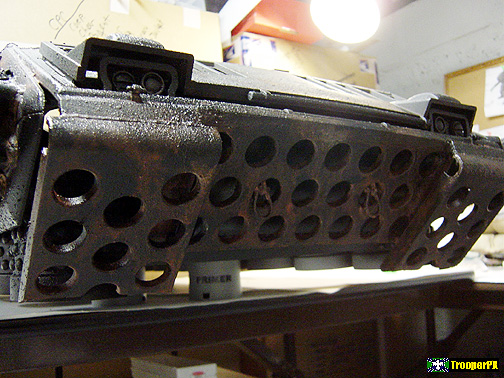
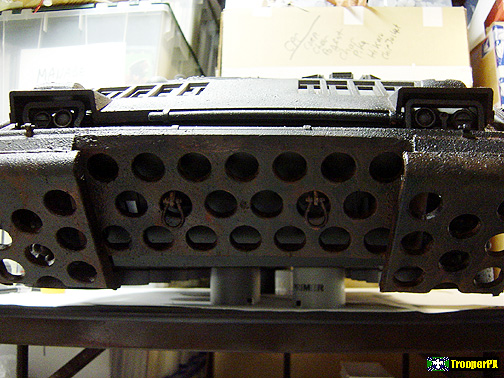
- Primer Coat -
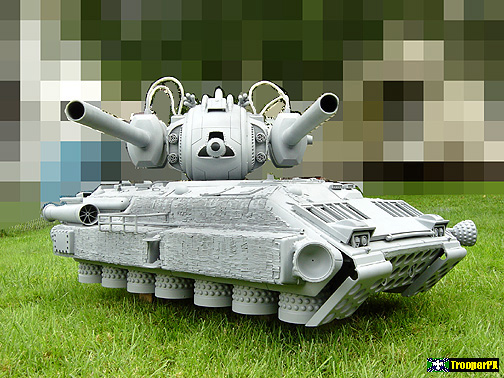
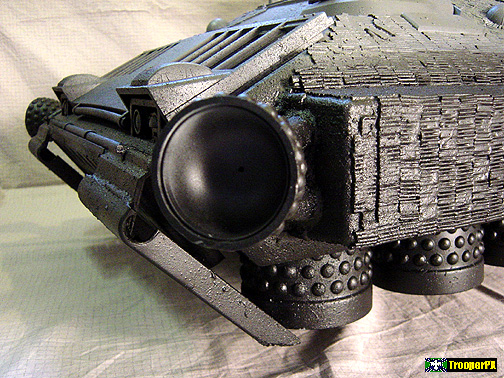
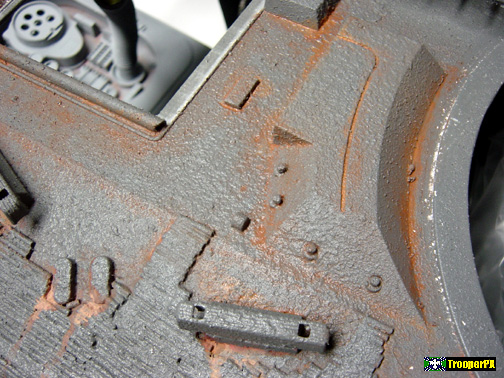
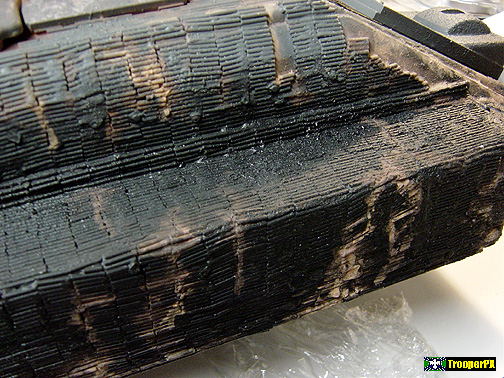
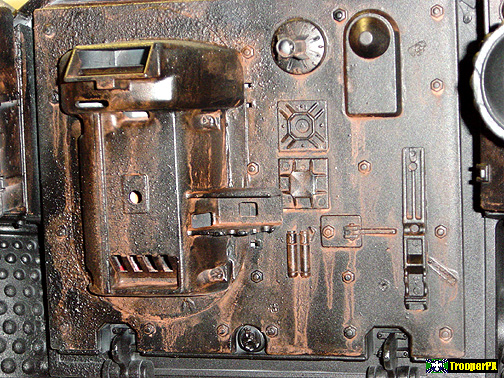
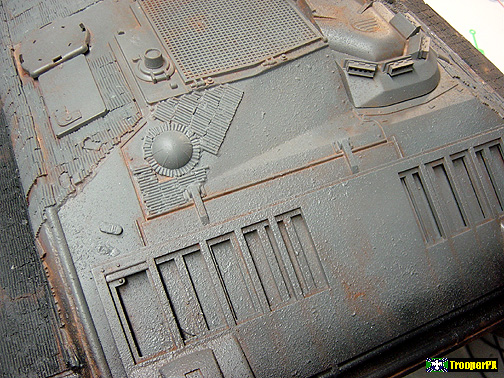
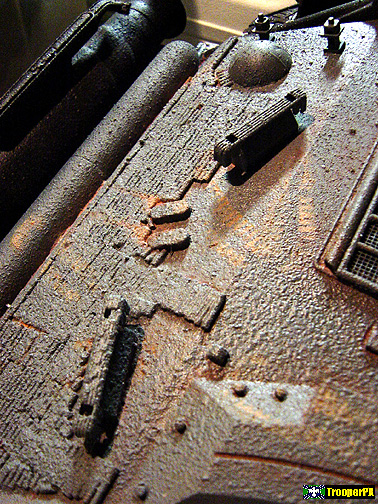
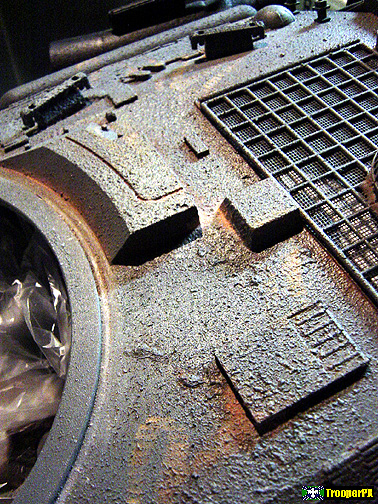
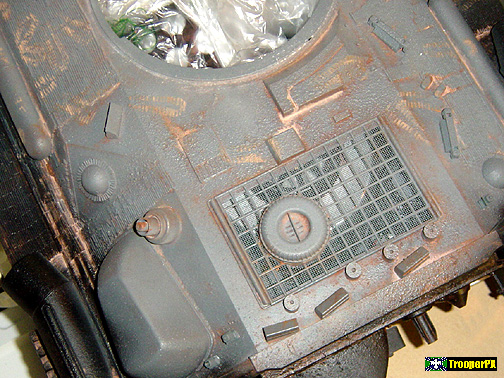
- Fleck Spray -
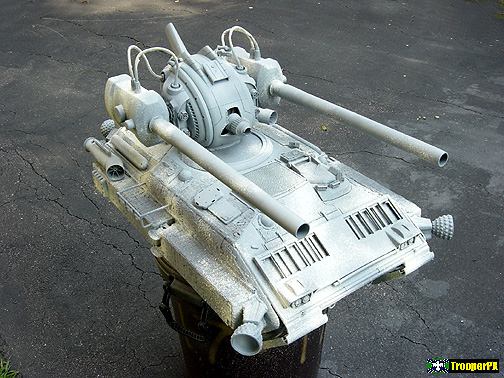
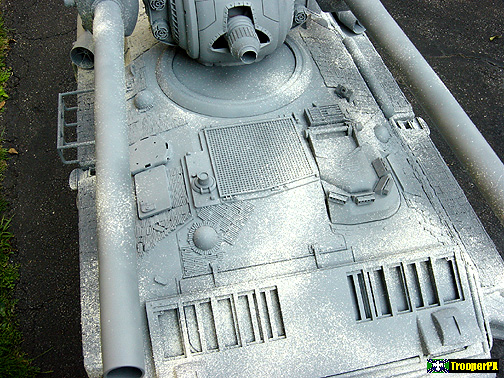
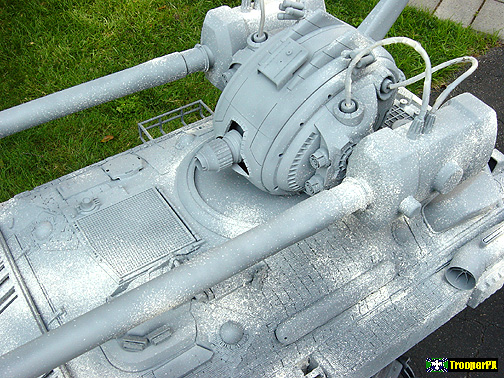
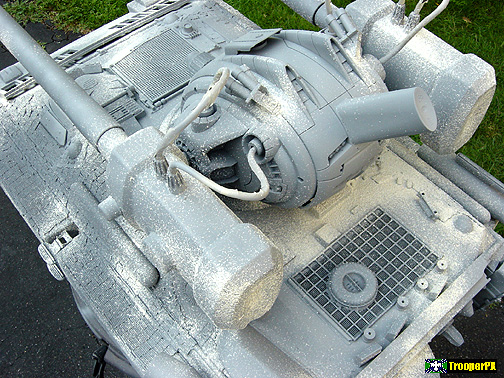
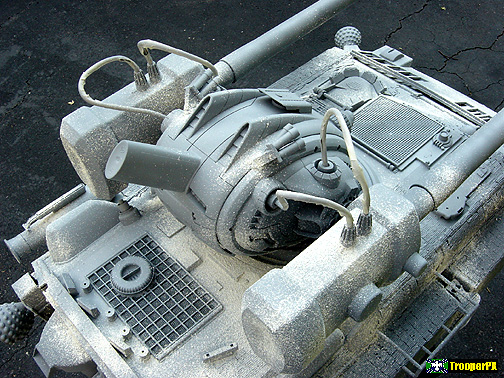
It can simulate cast metal, or an old weathered surface, depending on how you finish it.
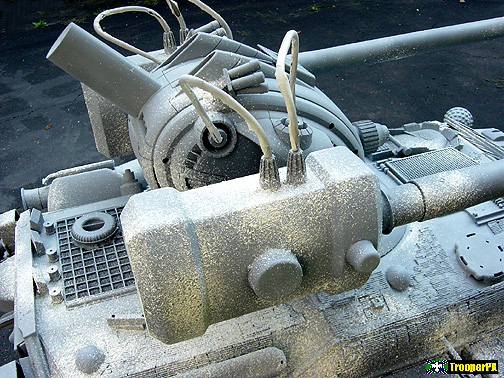
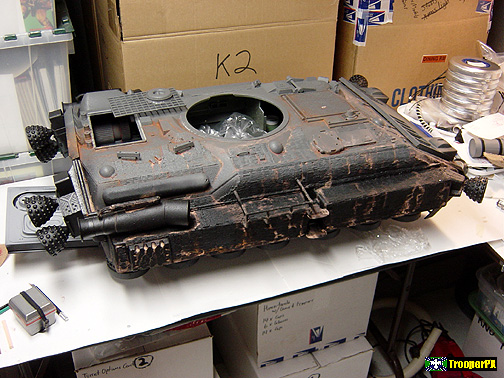
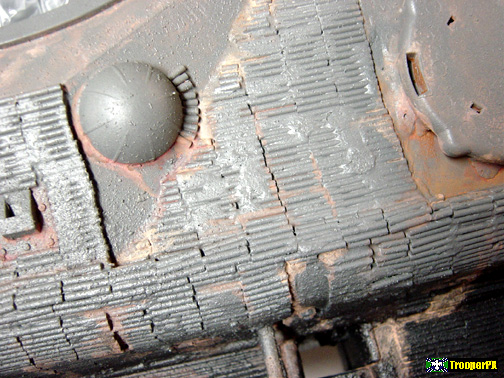
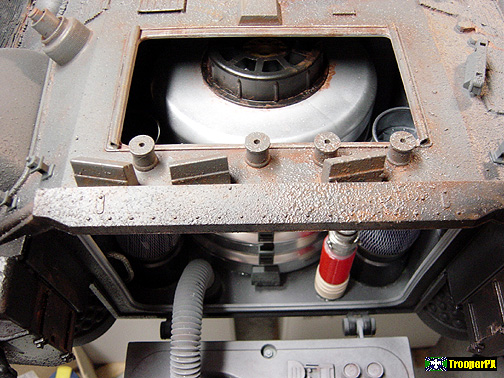
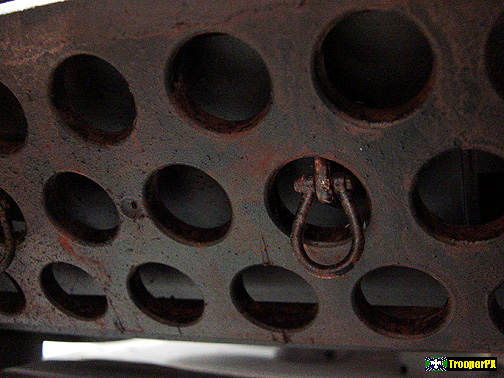
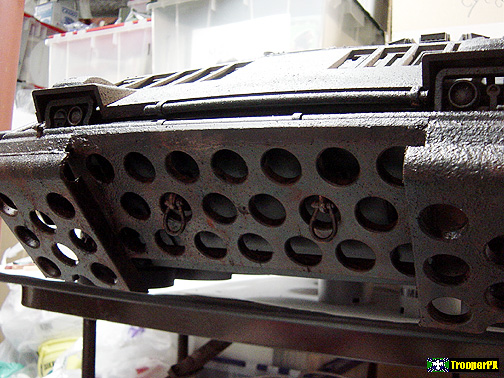
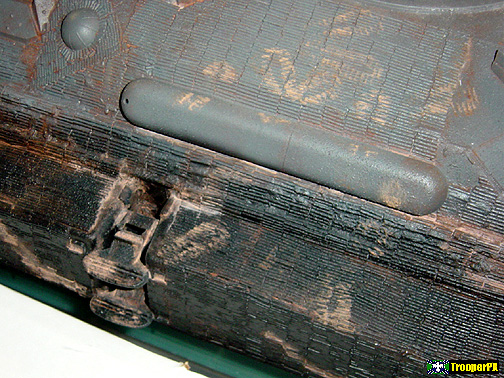
- First Color -

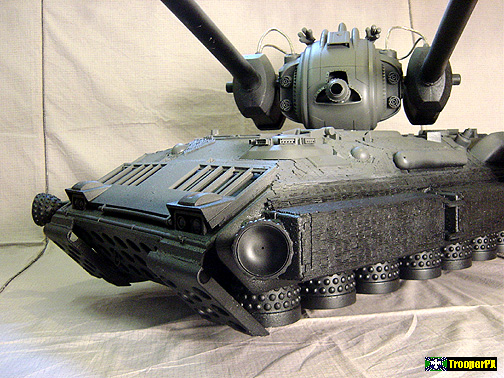


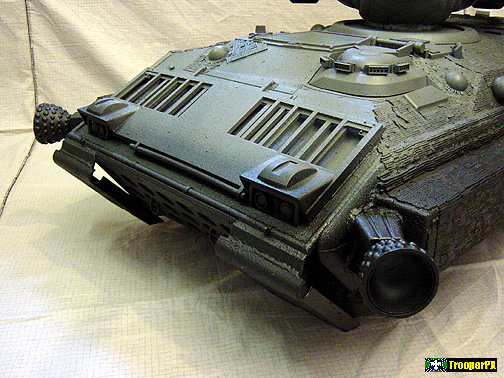
the top surfaces painted second with a deep cool gray. Lastly, the transition line is retouched with black,
because I wanted the black to over-spray and drift up.
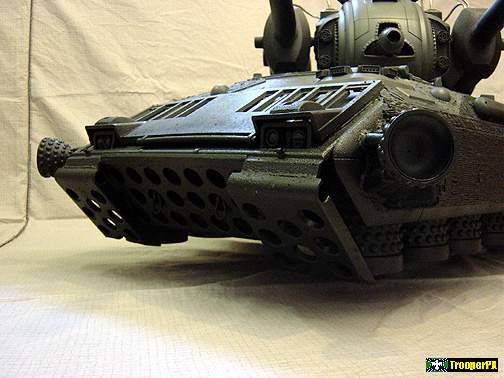
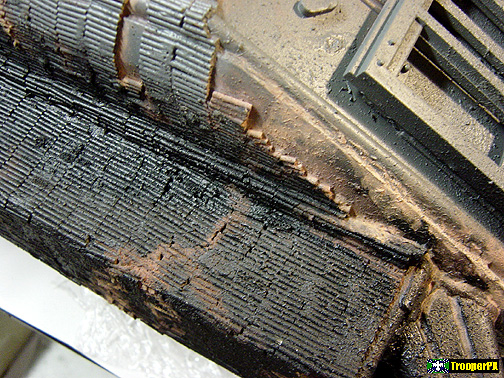
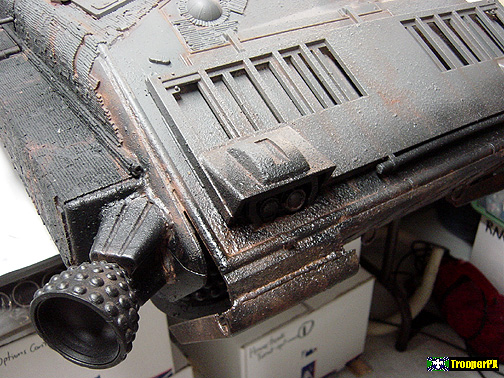
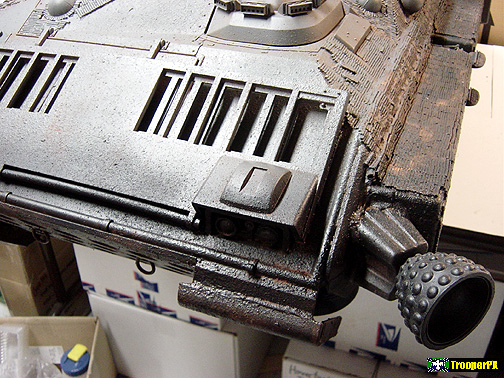
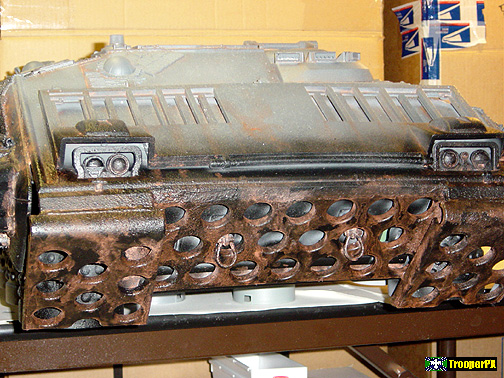
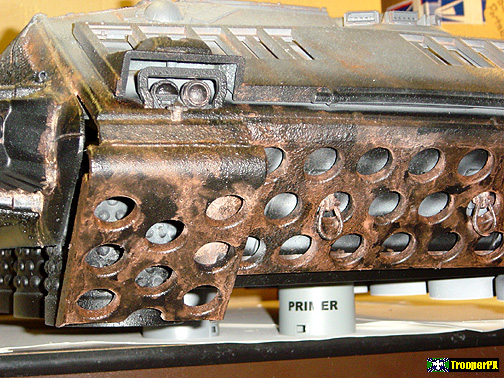
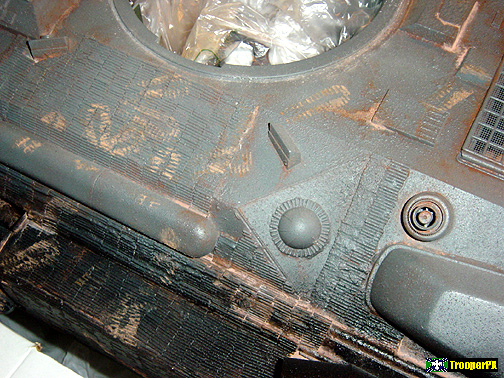
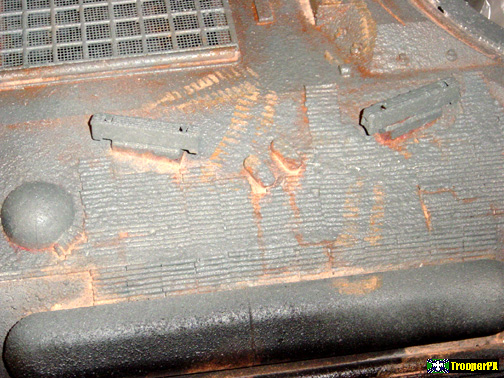
- First Dirt on Side -
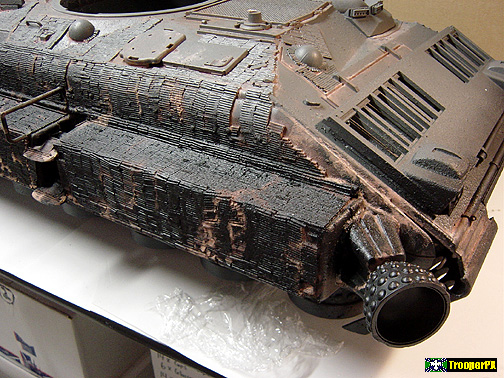
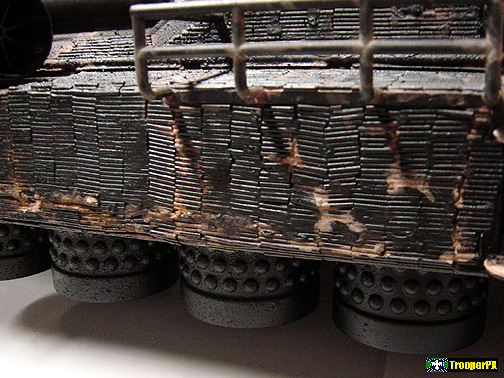
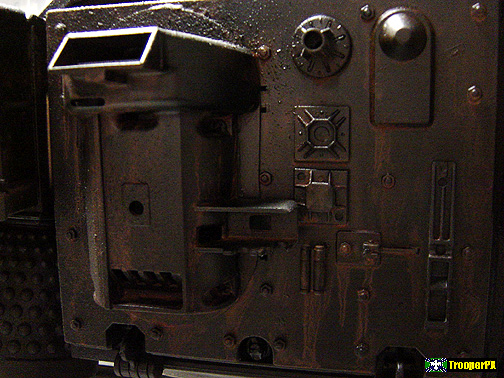
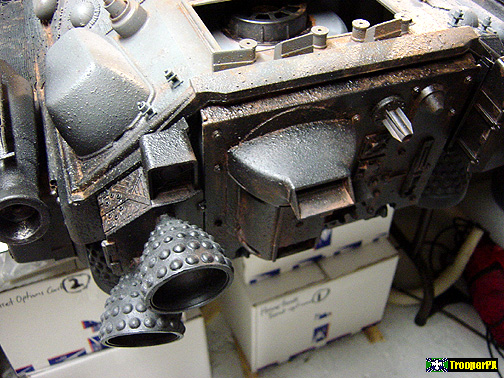
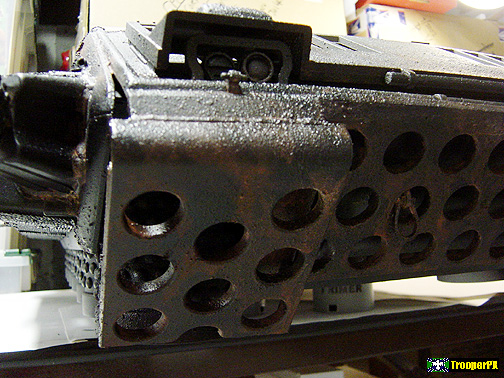
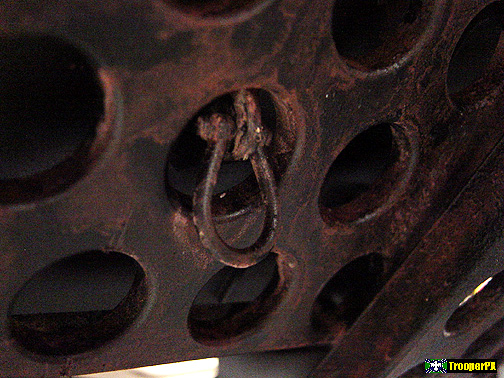
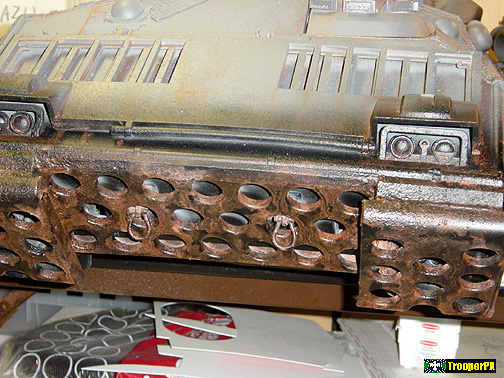
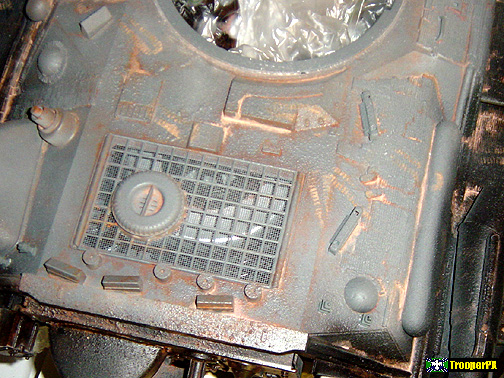
- Dirt on Engine -


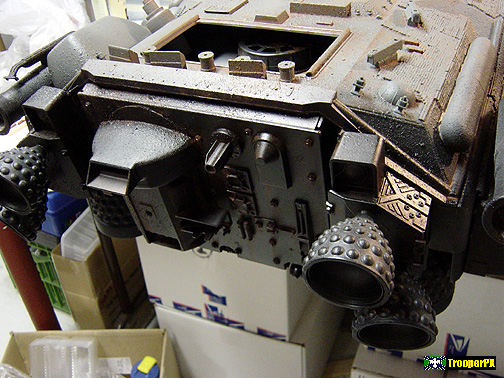

- Dirt on Front -
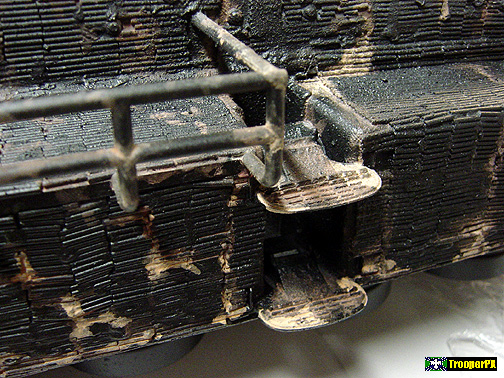
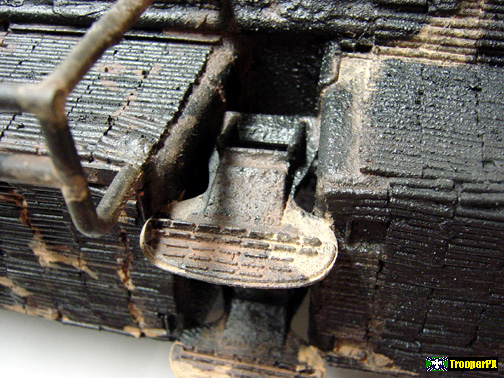
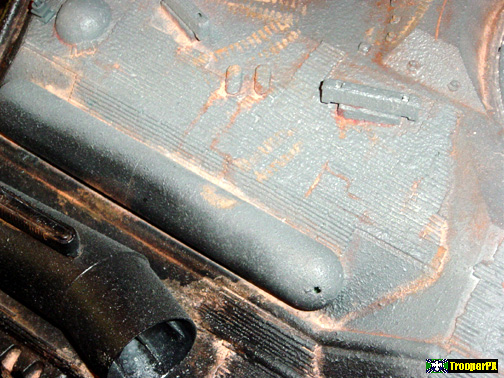
- Final Dust and Footprints -
Back to Roughneck Joe Production History
Free counters provided by Honesty Communications.
Copyright © 1998~2004 David Ramsay, All rights reserved.
All other trademarks and copyrights are the property of their respective owners.
![]()
"Roughneck Joe" and "S.S.T.3.D-Original" © Copyright David Ramsay 1997~2004.
All rights reserved.
No infringement is intended or desired.
No images or text may be captured, copied, reproduced or used with out permission.
All images and information contained herein are Copyright their respective owners.
The contents of these pages, is Copyrighted by TrooperPX, as an artistic expression.
This is fan web-site and is intended solely to promote everything Starship Troopers.